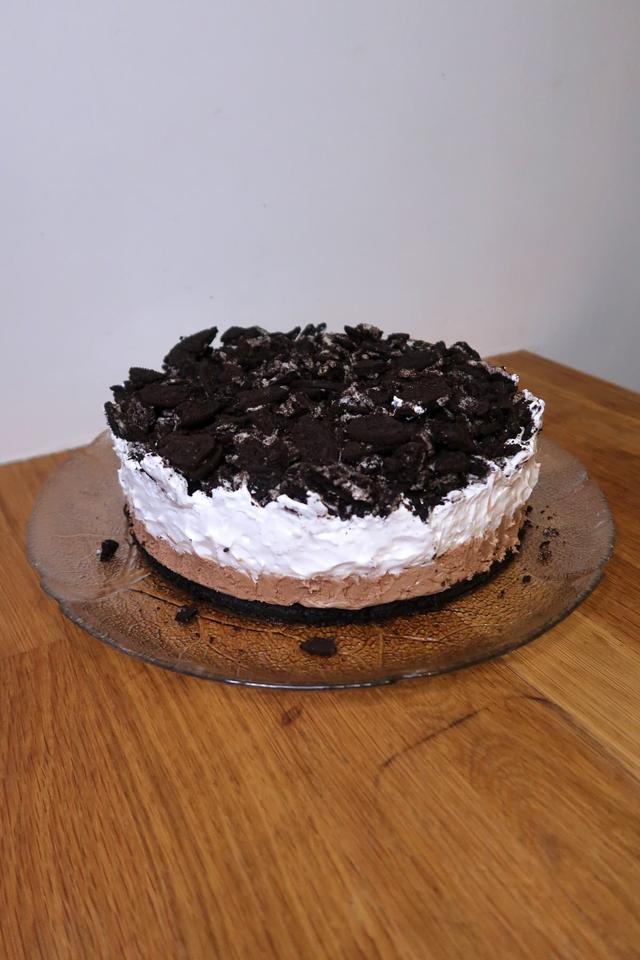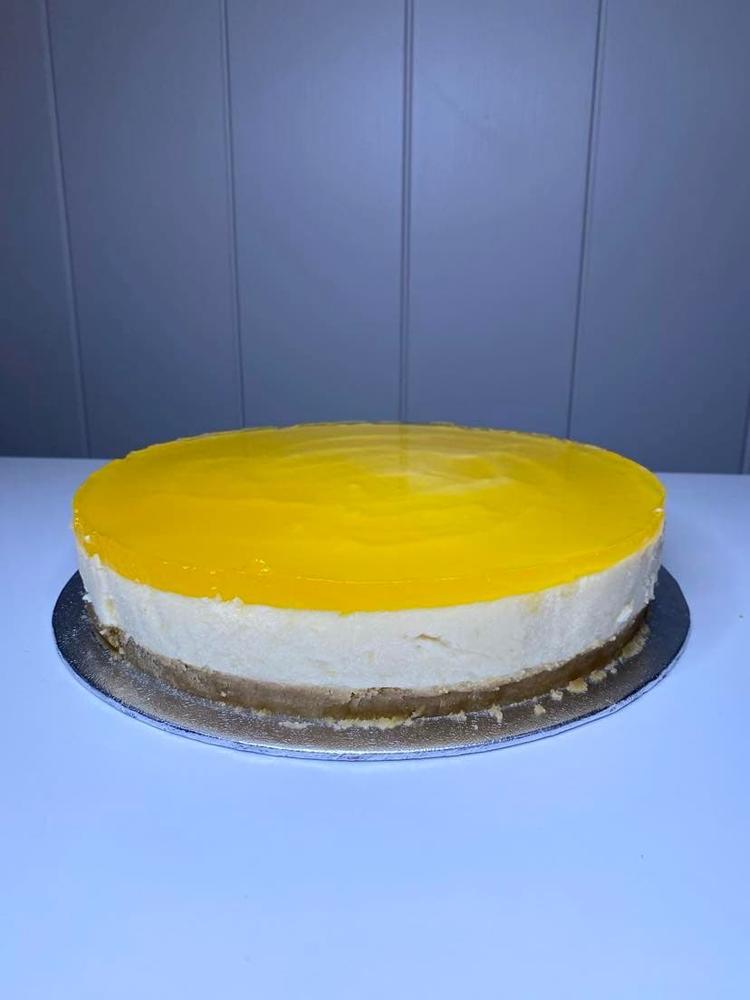
I made this cake on my cooking course "magic with agar agar", at the Oslo Vegetarian Festival. And as promised, I'm sharing the recipe. After people had tasted, I got comments like "the first cheesecake I've liked", "fresh and good" and "the best I've tasted". Several who said they had bought agar agar a long time ago. Just didn't dare to try to make anything with it or know what they were going to use it for, but now had to bake this one.
Ingredients
- 290 g oatmeal cookies
- 50 g vegan butter
base:
- 1 ½ dl vegan cream
- 150 g sugar
- 200 g vegan cream cheese
- 200 g vegan sour cream
- 2 dl orange juice
- 2 tsp vanilla sugar
- 2 tbsp agar agar
- 3 dl orange juice
cheese filling:
- 2 ½ dl water
- 1 pack vegan jelly powder
jelly:
Method
- Put the biscuits in a blender and crush them. Put in vegan butter and blend it together. Find a cake tin without a base and a cake tray or dish. Put the biscuit mixture in the bottom and press it outwards. When you're done, put it in the fridge.
- Start by whipping vegan cream and sugar together in a bowl, to a stiff cream. This takes 1-2 minutes. I recommend using a machine with a whisk and the reason for that comes later in the recipe.
- Place vegan cream cheese in another bowl. If your cream cheese is a bit hard, whisk it alone first so you don't get any lumps in the cake.
- When you have whipped the cream cheese soft, add vegan sour cream, 2 dl orange juice and vanilla sugar. Whisk everything together until combined. Combine with the whipped cream and whisk until combined.
- Put agar agar and 3 dl orange juice in a small saucepan. Whisk together and then bring to a boil while stirring. I start with the hob at 7, when it starts to boil I turn it down to 5 and let it simmer for 2-3 minutes. Then it should be a bit like a gel paste, neither too runny nor too thick. Lower the heat to 1.
- Now you have to work quickly and be precise. First tap off what is on the whisk and put it away. Take the saucepan off the heat.
- Find a spatula and make sure it is completely clean. (Because as soon as hot agar agar comes into contact with something cold, it will start to solidify.)
- Switch on the machine and let it whip the cheese filling, while you pour the agar-agar mixture in a stream into the cheese filling. Use the spatula to effectively scrape out everything in the pan. This is why I recommend using a machine, because you have to use both hands, one to hold the pan and the other to use the spatula.
- If you don't have a machine, there must be two of you at this step. One can whip with a hand mixer and the other pour in agar agar. It is important that you whip all the way to the edges, so that it is well mixed. Also, make sure you don't hit the edge of the bowl, because then the agar agar will harden and turn into jelly lumps.
- Whisk the cheese filling together well, so everything is mixed. Put it over the biscuits and spread evenly. Put back in the fridge.
- Pour boiling water into a deciliter measure and pour in the jelly-powder. Mix it out with a spoon and leave it to cool for about 30 minutes. Pour onto the cake, but preferably first on a spoon, as the cheese filling may be punctured if the liquid hits it directly. Leave in the fridge for at least 4 hours.
- Cut around the cake and remove the cake ring. Serve and enjoy!